After about four months of breastfeeding, I started to struggle with my supply. Over time, I began producing less and less milk for Elle, even with her high demand; it was incredibly frustrating. Looking back, I realize there were some things I could have done to increase my supply, and I will share those tips in a vlog soon. You can subscribe to my YouTube Channel, here.
Around the time my supply started to dwindle, it was also time to introduce my daughter to solids. We started using the Earth’s Best brand and followed the “ABC concept” – apples, bananas, and cereal. We did this for awhile being careful not to introduce more than one food per week.
Now that Elle is older we can blend different fruits and vegetables versus the essential baby’s first options, giving her a more exciting mealtime experience.
How to Puree:
The process is relatively simple and allows for you to be as creative as you would like as your baby grows older and can digest a variety of foods.
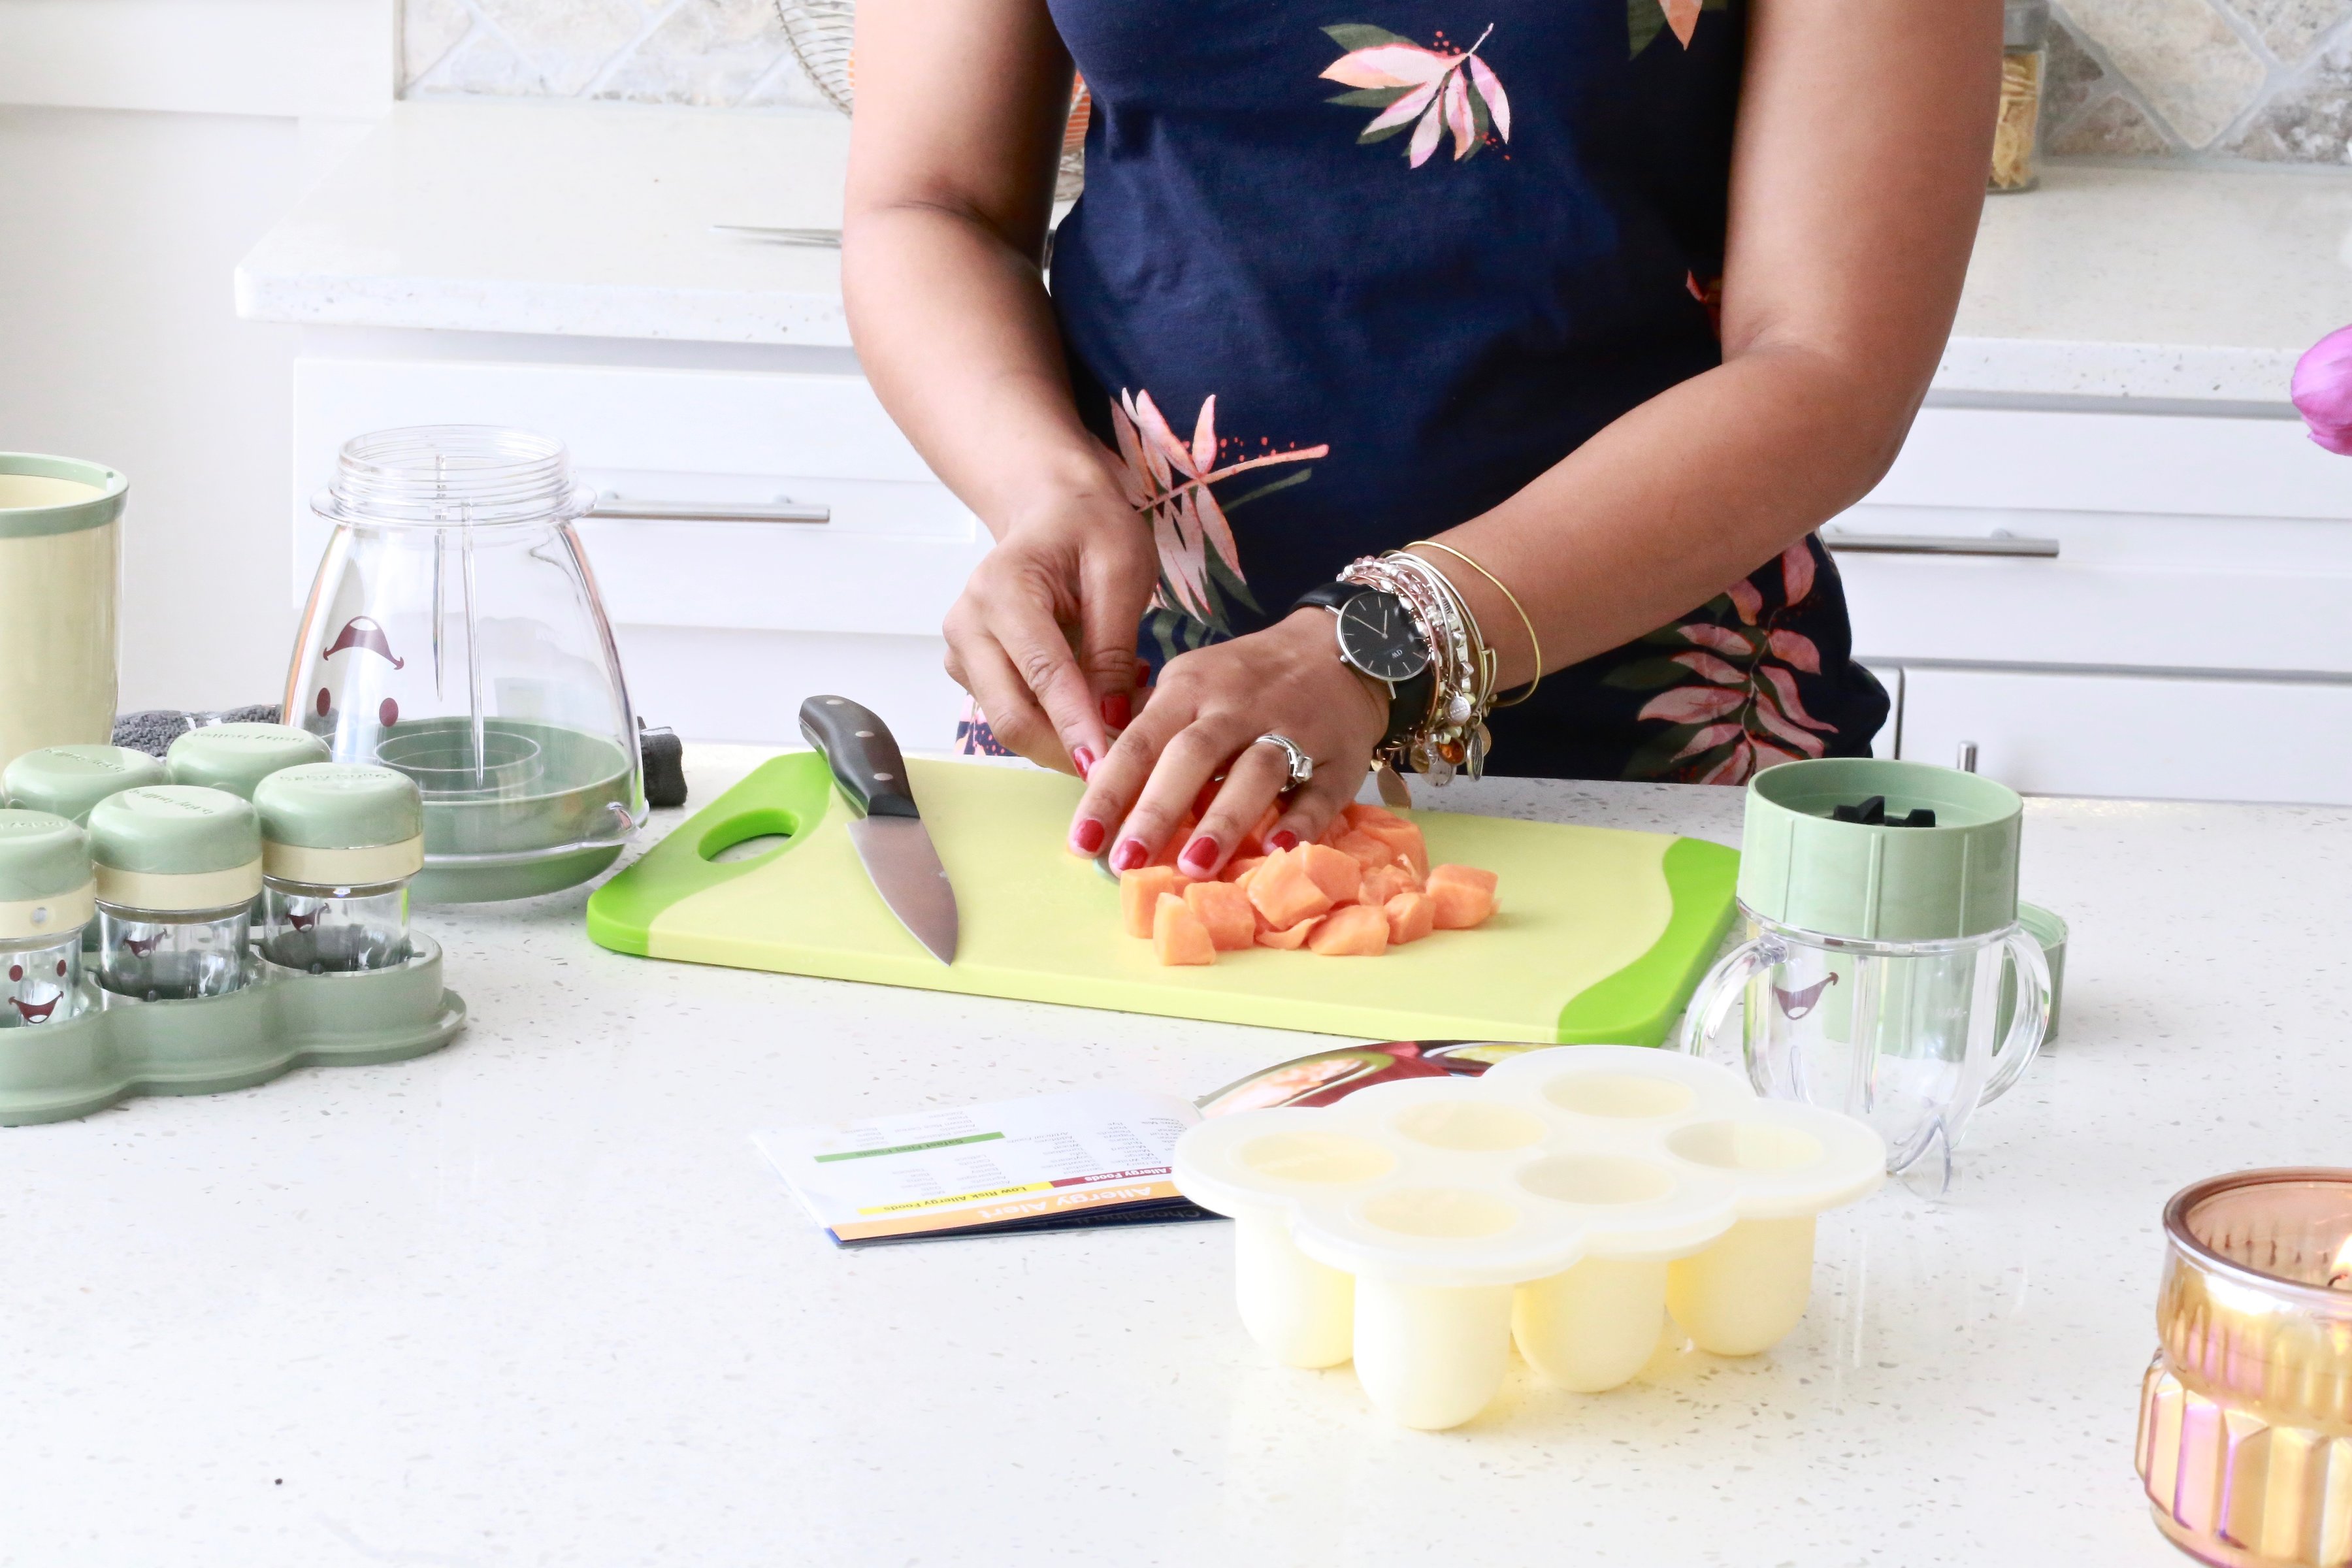
Step 1: Wash your fruits and veggies. There was this huge “do you wash your chicken debate” on the internet a few weeks ago. Ummm Yes, I wash/rinse everything. Rinse your veggies and prepare them by slicing them into smaller pieces.
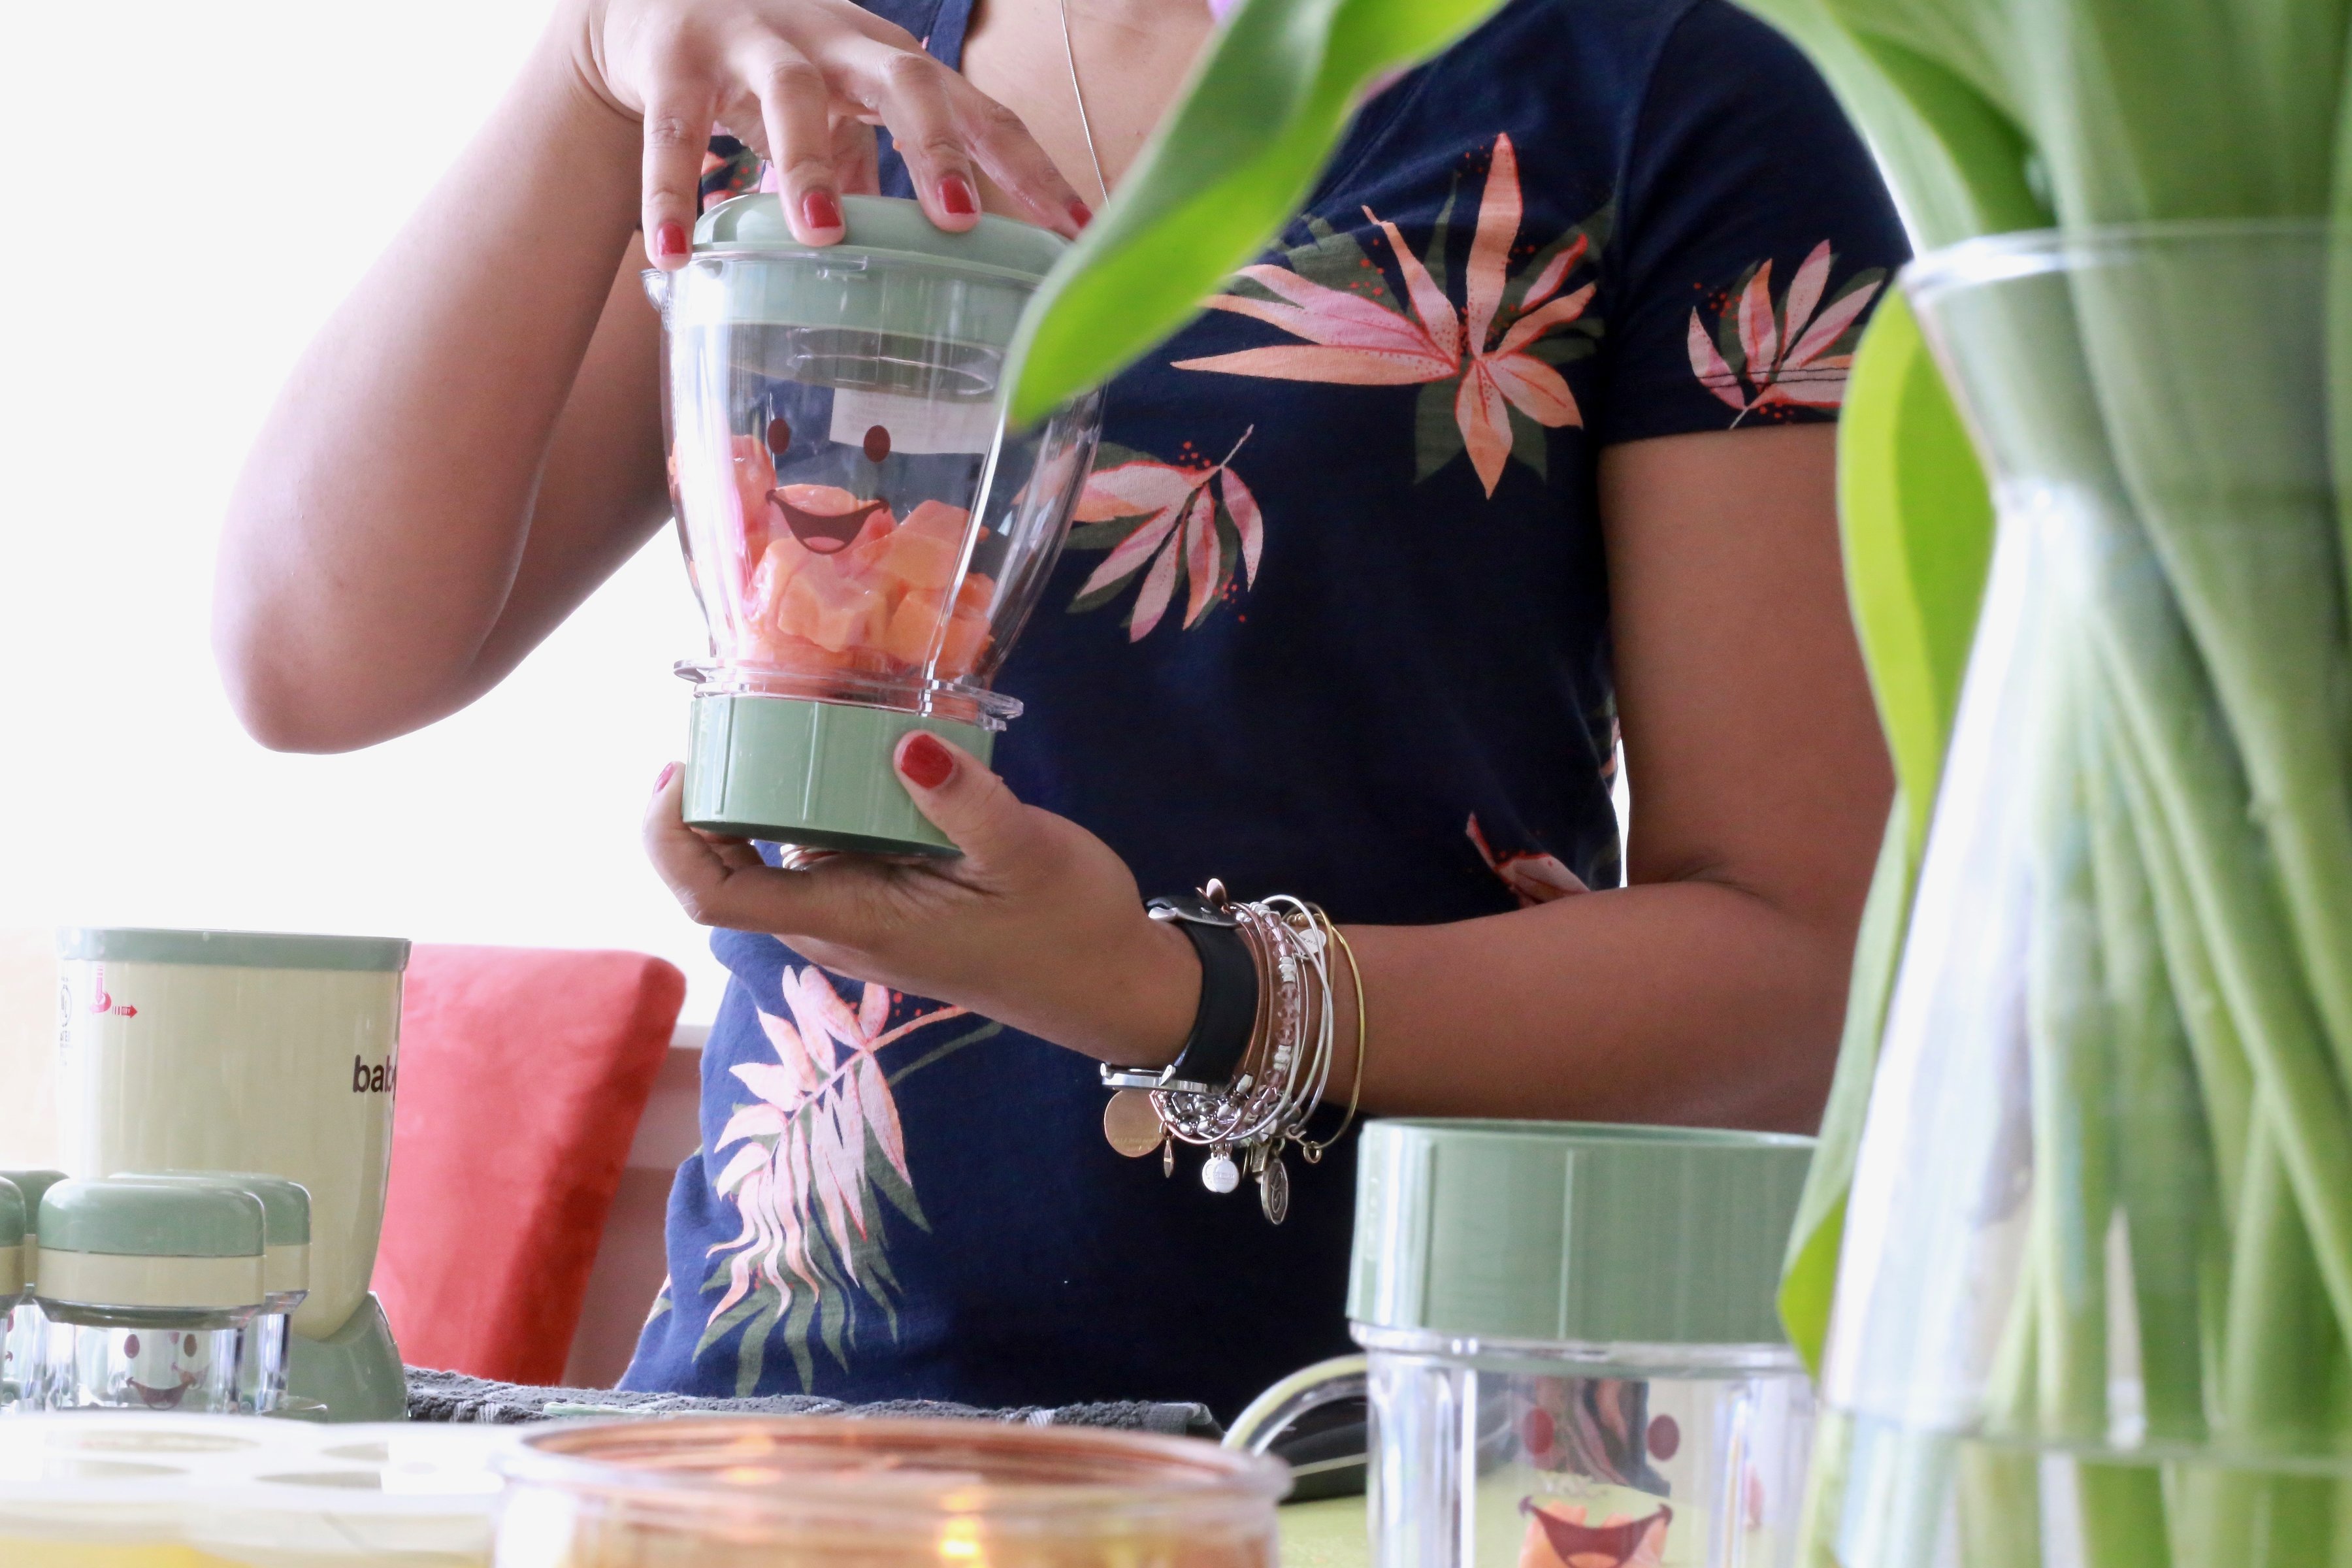
Step 2: Once you’ve sliced and steamed or boiled your veggies/fruit, you are ready to toss them into your blender.
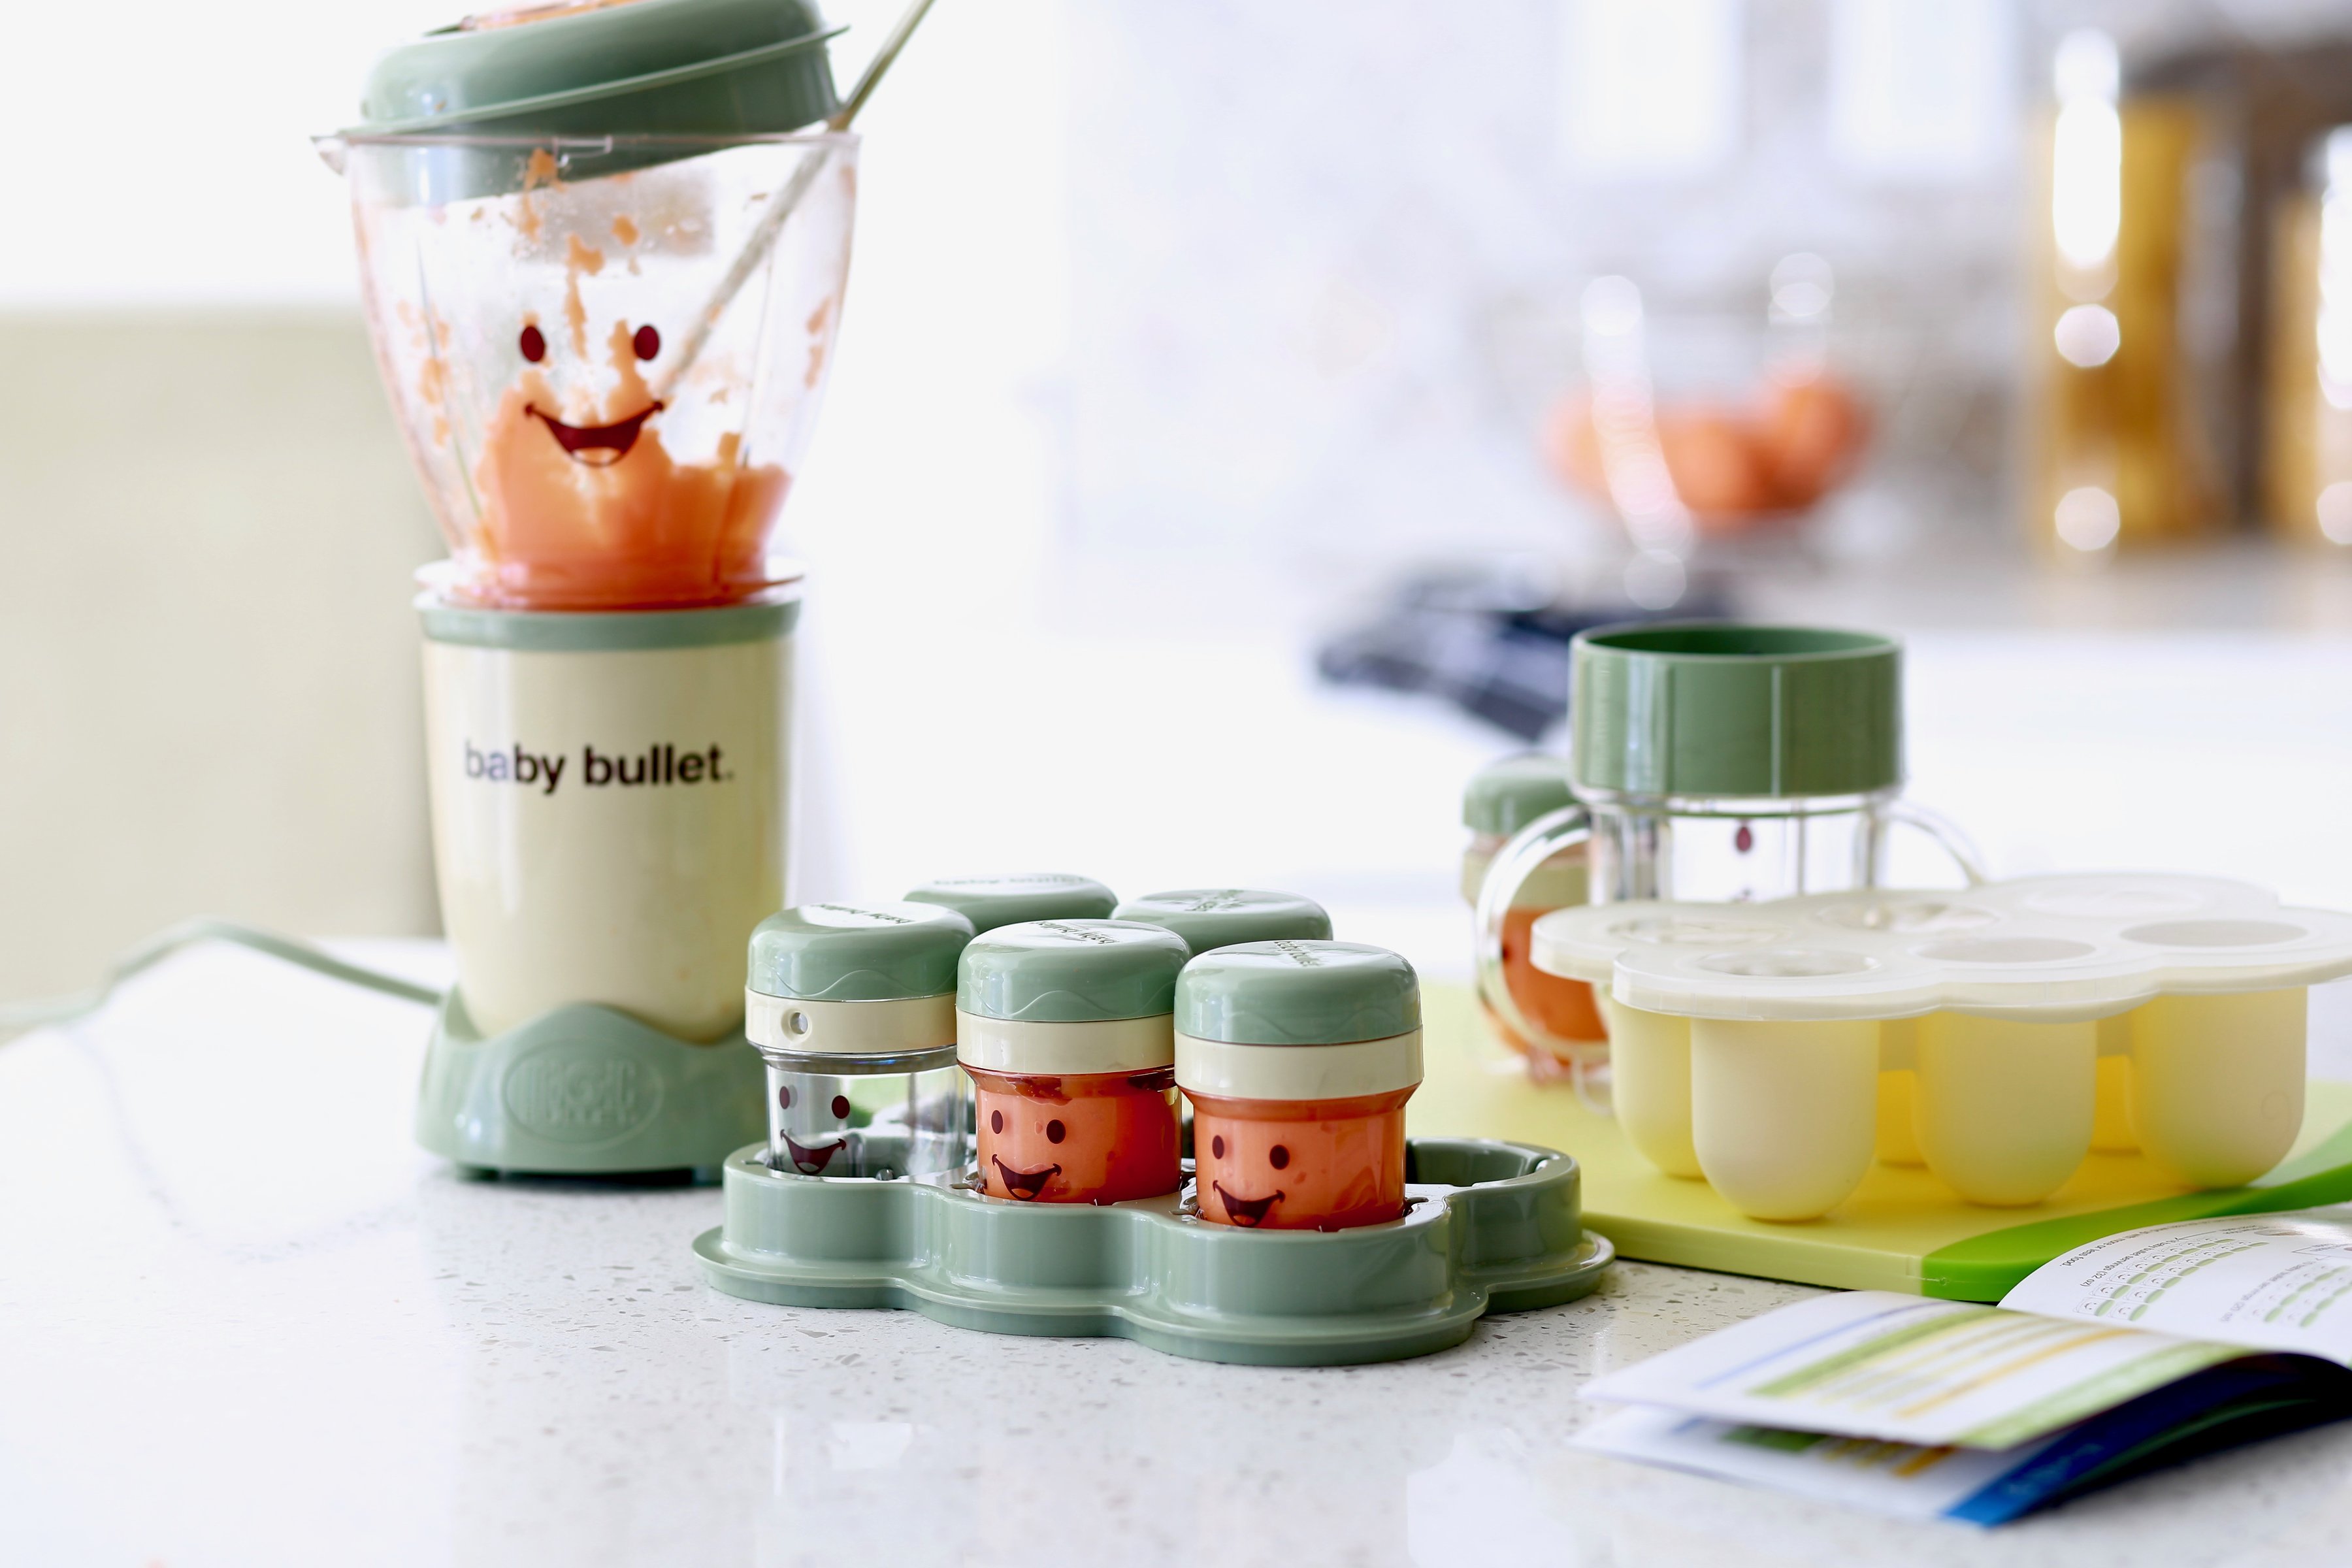
Any chance I get to shout out my fantastic village, I take it. We received the Magic Bullet Baby Bullet (pictured) as a gift. The baby bullet comes as a 20 piece set that includes everything you’ll need to puree, sort, and store your food. If you don’t own the Baby Bullet, but do have a blender at home use that. I often use my Ninja as it gives me the chance to process more ounces at once.
Step 3: Blend. By steaming or boiling your foods first, it makes them a little softer and the blending process more manageable. I occasionally use frozen fruit and veggies bags from the freezer section. I usually toss these right into the Ninja Blender (not the Baby Bullet, the manufactures suggest you do not use frozen items) and puree. Don’ be afraid to mix some of your little one’s favorites into the blender together. **Add water as needed to create a different consistency, about 1/8 of a cup is an excellent start.
Step 4: The Fun Part, storing your food. A close friend of mine (Tasha Lynn) suggested the Infantino Fresh Squeezed Squeeze Station. The Squeeze Station comes with 4oz. squeeze pouches and Amazon has a great deal on additional pouches! The squeeze station provides me with the on-the-go option for storing. I usually make about eight to ten pouches at a time (roughly 40 oz. of food). You can store in the freezer or fridge, but be sure to follow the storing instructions. (Storing Instructions: 2 Days/Fridge 2 Months/Freezer)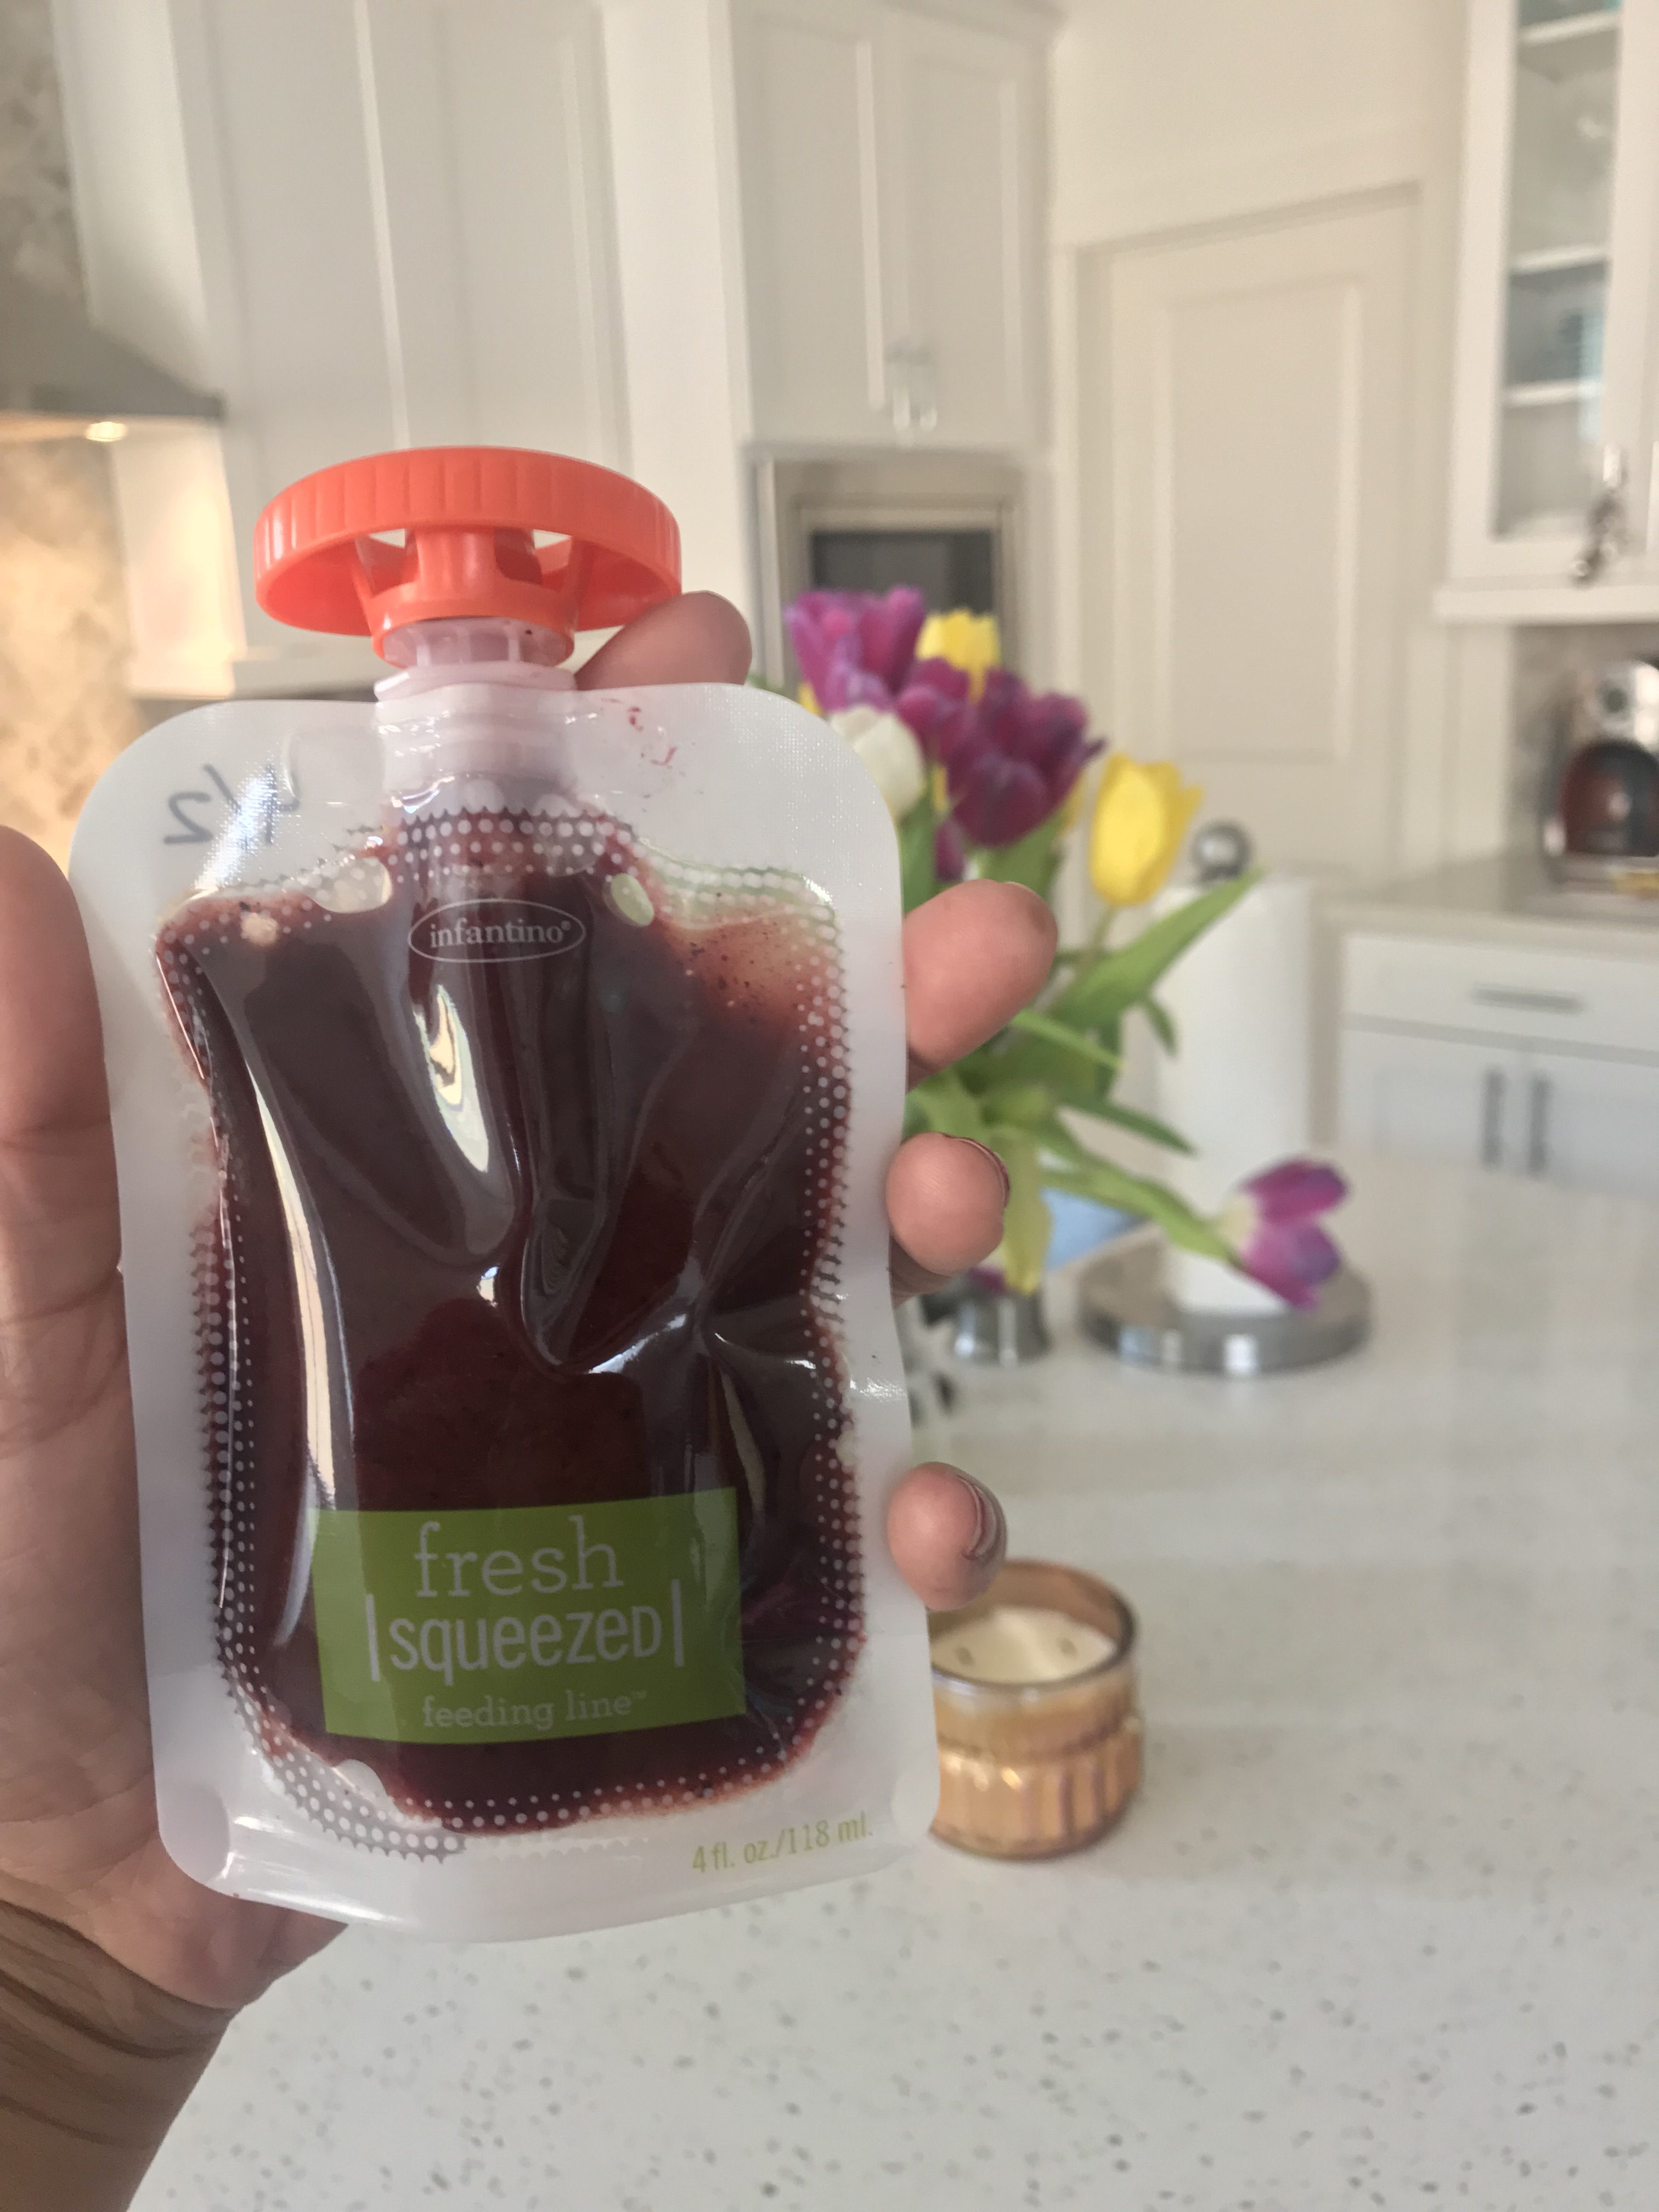
As I mentioned earlier, the process is super simple, but above that, it’s a way for parents to know exactly what baby is having for breakfast, lunch, and dinner. I’m not at all against jarred baby food, and I want to make that clear. So momma’s, please note, making your baby’s food is a bonus, not the standard. I realize that time isn’t always on our side, but if you have a moment to try, this is my encouragement to do just that.
There are tons of recipes on the web. If you’re a baby-chef, drop some of your recipes or suggestions in the comment section.
XO, Carm
